Healthy Sinangag Garlic Fried Rice Recipe Filipino Style with Cauliflower and Brown Rice
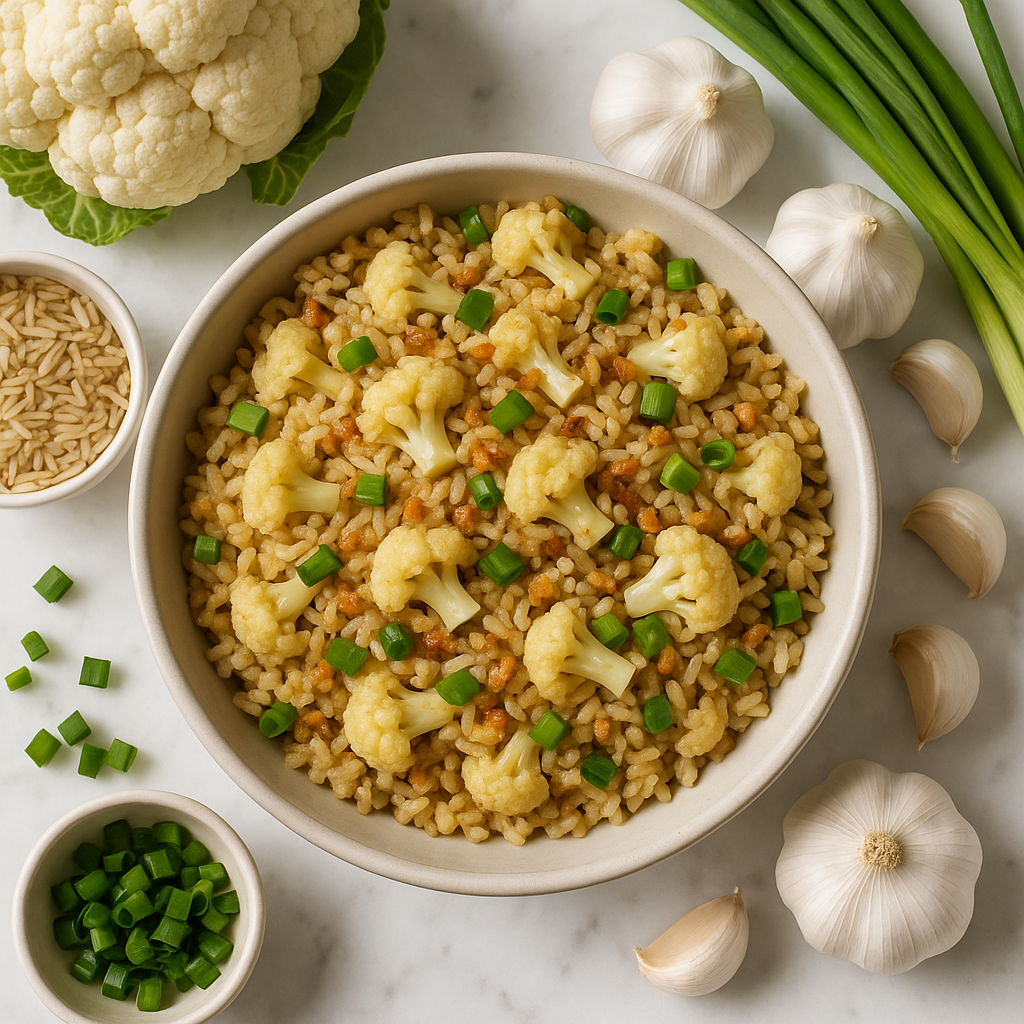
Healthy Sinangag Garlic Fried Rice Recipe Filipino Style with Cauliflower and Brown Rice takes a traditional Filipino breakfast staple and reworks it into something that genuinely serves your body without stripping away the soul of the dish. Sinangag is not fancy food. It is the kind of rice that gets cooked in the early morning in Filipino households, filling the kitchen with the sharp, toasted smell of garlic hitting hot oil. The version here is built for people who want that same experience but with more fibre, more protein, and fewer empty calories than the classic white rice base delivers. The combination of brown rice and riced cauliflower is the core swap that makes this work. You keep the satisfying bulk and the familiar fried rice texture while cutting the total carbohydrates and adding plant-based fibre that the original recipe does not offer. At 248 calories per serving with 11.8 grams of protein and 5.2 grams of fibre, this is a breakfast that carries you through a busy morning far better than a bowl of plain rice ever could.
Brown rice is doing real work here, not filling space. It brings slower-digesting complex carbohydrates to the dish, which means a steadier release of energy rather than the quick spike and crash that comes from white rice. One and a half cups of cooked brown rice also contributes meaningful amounts of magnesium and B vitamins, both of which support energy metabolism. The riced cauliflower adds bulk without adding significant calories. A cup of riced cauliflower has roughly 25 calories and brings vitamin C, folate, and a good gram of fibre on its own. Six cloves of garlic go well beyond flavour here. Garlic contains allicin, a compound linked to anti-inflammatory and antimicrobial properties, and at this quantity it gives the dish its characteristic punch. The two eggs provide complete protein with all nine essential amino acids, plus choline for brain function. Low-sodium soy sauce keeps the salt in check without losing that savoury umami depth. Sesame oil is used in a small finishing amount, which is intentional, as it is calorie-dense but adds a roasted, nutty aroma that anchors the whole dish.
The cooking process is straightforward but the order matters. You start by frying the garlic in the oil until it turns golden and fragrant, which takes about two minutes over medium-high heat. That step is what defines sinangag. The garlic should be properly toasted, not pale and soft, because the toasted bits are what coat every grain of rice as you toss it through. The rice goes in next, spread across the pan so it gets some direct heat contact rather than steaming. Once the rice is hot and starting to crisp slightly at the edges, you push it to the side, scramble the eggs directly in the pan, then fold them through. The riced cauliflower is added at this stage too, and because it cooks quickly it only needs two to three minutes before it becomes tender without going mushy. The finished dish has a lovely contrast of textures. The rice grains are slightly firm and a little chewy from the brown rice, the cauliflower is soft but not wet, and the egg comes through in scrambled ribbons. The white pepper adds a gentle heat that is warmer and less sharp than black pepper.
This recipe directly supports gut health, blood sugar management, and sustained energy in the morning. The 5.2 grams of fibre per serving is notable for a fried rice dish, and that fibre comes from multiple sources including the cauliflower, brown rice, and spring onions. For people managing their weight, the calorie-to-satiety ratio here is very good. You are eating a full, warm, savoury breakfast for under 250 calories with nearly 12 grams of protein to keep hunger at bay. The recipe is naturally dairy-free, which makes it accessible to people who are lactose intolerant or following a dairy-free eating pattern. It also fits gluten-free diets if you swap the soy sauce for tamari or coconut aminos. Athletes and active people benefit from the combination of complex carbohydrates and complete protein before or after training. People recovering from illness or managing inflammation may find the garlic content useful alongside the anti-inflammatory properties of the avocado or olive oil. This is also a genuinely suitable recipe for older adults who need nutrient-dense meals without high calorie loads.
Sinangag is traditionally a leftover rice dish, which means it was built for meal prep from the start. Cook a large batch of brown rice at the beginning of the week and store it in the fridge. Cold rice actually fries better than freshly cooked rice because the grains have dried out slightly and will not clump together in the pan. The cooked fried rice keeps well in an airtight container in the fridge for up to four days. To reheat, use a hot pan with a tiny splash of water or oil rather than a microwave if you want to preserve the texture. It also freezes well for up to two months. For variations, try adding diced firm tofu along with the eggs for extra protein, or stir through a tablespoon of gochujang paste for a Korean-inspired version with a spicy kick. A handful of frozen peas or edamame stirred in at the end adds colour and more plant protein. For a heartier version, top each serving with a fried egg before plating. All the measurements and full step-by-step instructions are in the recipe card below.
Ingredients
- 1.5 cups cooked brown rice (day-old and cold works best, grains separate more easily)
- 1.5 cups riced cauliflower (fresh or frozen and fully thawed, patted dry)
- 6 cloves garlic (minced finely)
- 2 large eggs (lightly beaten)
- 2 tbsp light olive oil or avocado oil (divided)
- 1.5 tbsp low-sodium soy sauce (or tamari for gluten-free)
- 0.5 tsp white pepper (freshly ground if possible)
- 0.5 tsp sesame oil (added at the very end for aroma)
- 3 stalks spring onions (thinly sliced, greens and whites separated)
- 0.3 tsp fine sea salt (adjust to taste)
Instructions
- 1
If using frozen riced cauliflower, thaw it completely and press it firmly between layers of paper towel or a clean tea towel. You want it as dry as possible. Excess moisture will steam the rice instead of frying it, and you lose that satisfying crisp texture.
Do this step the night before and leave the pressed cauliflower uncovered in the fridge. It dries out even further overnight.
- 2
Heat a large wok or wide non-stick skillet over medium-high heat. Add one tablespoon of oil and swirl to coat. Add the minced garlic and the white parts of the spring onions. Stir constantly, keeping the garlic moving so it toasts evenly. Cook for about 2 to 3 minutes until the garlic turns deep golden and fragrant.
Watch carefully here. Garlic goes from golden to burnt quickly at high heat. Lower the flame slightly if it is colouring too fast.
- 3
Push the garlic mixture to the sides of the wok and add the remaining tablespoon of oil to the centre. Pour in the beaten eggs and let them sit for about 15 seconds before gently scrambling them. You want soft, just-set curds. Remove the egg from the pan and set aside on a small plate before they finish cooking completely, they will finish in the rice.
Undercooking the egg slightly at this stage prevents rubbery egg bits in the finished dish.
- 4
Add the cold brown rice and the dry riced cauliflower to the wok. Use a spatula to break up any clumps in the rice, pressing it gently against the hot surface. Toss everything together with the garlic and let it cook undisturbed for about 90 seconds so the bottom layer picks up a little colour and crispness.
Resist the urge to stir constantly. Letting the rice sit builds that slightly toasted crust that makes sinangag so satisfying.
- 5
Drizzle the low-sodium soy sauce evenly over the rice and toss well to coat every grain. Add the white pepper and sea salt. Stir-fry for another 2 to 3 minutes, tossing regularly.
- 6
Return the soft scrambled eggs to the wok and fold them gently through the rice, breaking them into small pieces as you go. Cook for another minute until everything is heated through and well combined.
- 7
Remove the wok from the heat. Drizzle the sesame oil over the top and toss once more. Scatter the green parts of the spring onions over the rice, taste for seasoning, and serve immediately while hot.
The sesame oil loses its fragrance fast over high heat, so always add it off the flame at the very end.
Nutrition per serving
248kcal
Calories
11.8g
Protein
29g
Carbs
9.5g
Fat
5.2g
Fibre
2.8g
Sugar
390mg
Sodium
Pro Tips
- ✓
Day-old brown rice straight from the fridge is the gold standard for this recipe. Freshly cooked rice is too moist and will clump.
- ✓
A wok gives you the best results because its high curved sides let you toss without losing rice everywhere. A large stainless steel skillet works as a solid alternative.
- ✓
Do not skip drying the riced cauliflower. Wet cauliflower makes the whole dish soggy and defeats the purpose of frying.
- ✓
For a smokier depth, let the rice sit untouched in the pan for a full 2 minutes before tossing. That light crust on the bottom is called tutong and many Filipinos consider it the best part.
- ✓
Scale the garlic up if you love a more intense flavour. Eight or even ten cloves is not unusual in traditional Filipino sinangag.
- ✓
Serve with sliced ripe tomatoes on the side. The acidity and freshness balance the savoury, garlicky rice beautifully.
Frequently Asked Questions
Variations
- •
Full Cauliflower Sinangag
Replace all the brown rice with riced cauliflower for an ultra-low-carb, keto-friendly version. Season generously as cauliflower needs a little more soy sauce and garlic than rice to achieve the same depth of flavour.
- •
Egg White Sinangag
Use 4 egg whites instead of 2 whole eggs to push the protein even higher while keeping the fat content low. The egg whites add a lovely lightness to the texture.
- •
Ginger Garlic Sinangag
Add one teaspoon of freshly grated ginger to the pan alongside the garlic. It adds a warming, slightly spicy note that works especially well in cooler months and gives the dish a subtle extra nutritional boost.
- •
Veggie-Loaded Sinangag
Toss in half a cup of frozen peas, a small diced carrot softened in the microwave for one minute, and a handful of baby spinach added right at the end. This version nearly doubles the fibre content and adds a satisfying colour to the dish.
Substitutions
- •Brown rice → White jasmine rice (Use only day-old cold rice. Jasmine gives a more traditional sinangag flavour and aroma, though fibre and calorie content will differ.)
- •Riced cauliflower → Riced broccoli (Works just as well texturally and adds a slightly nuttier flavour. Pat dry thoroughly the same way.)
- •Low-sodium soy sauce → Coconut aminos (A great soy-free and lower-sodium option that still delivers a savoury, slightly sweet depth. Use the same quantity.)
- •Eggs → Firm tofu, crumbled (Press and crumble firm tofu to create a vegan version. Season the tofu lightly with a pinch of turmeric and salt before adding to the wok.)
- •Olive oil or avocado oil → Coconut oil (Refined coconut oil works well at high heat and adds a very mild background sweetness that some people enjoy in their sinangag.)
🧊 Storage
Store cooled sinangag in an airtight container in the refrigerator for up to 3 days. Reheat in a hot skillet with a tiny drizzle of oil for the best texture, stirring frequently for 2 to 3 minutes. Microwaving works too but the rice will be softer. This recipe is not recommended for freezing as the cauliflower rice releases moisture upon thawing.
📅 Make Ahead
Cook a full batch on the weekend and store in portioned containers for up to 3 days of fast weekday breakfasts. You can also pre-toast your garlic in oil the night before and store it in a small sealed jar in the fridge, ready to add straight to the pan in the morning. This cuts your morning cook time down to under 8 minutes.
You might also like
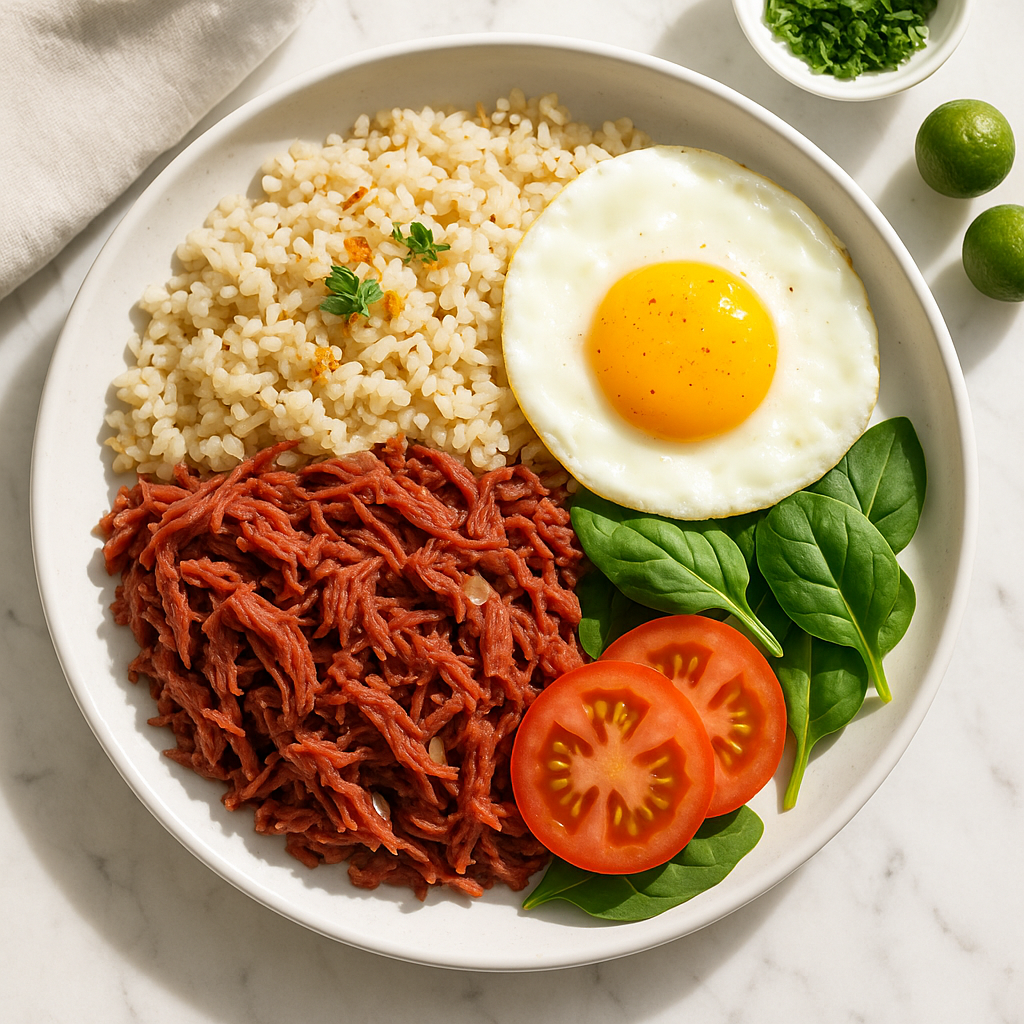
Filipino Corned Beef Silog with Garlic Fried Rice (High-Protein Healthy Version)
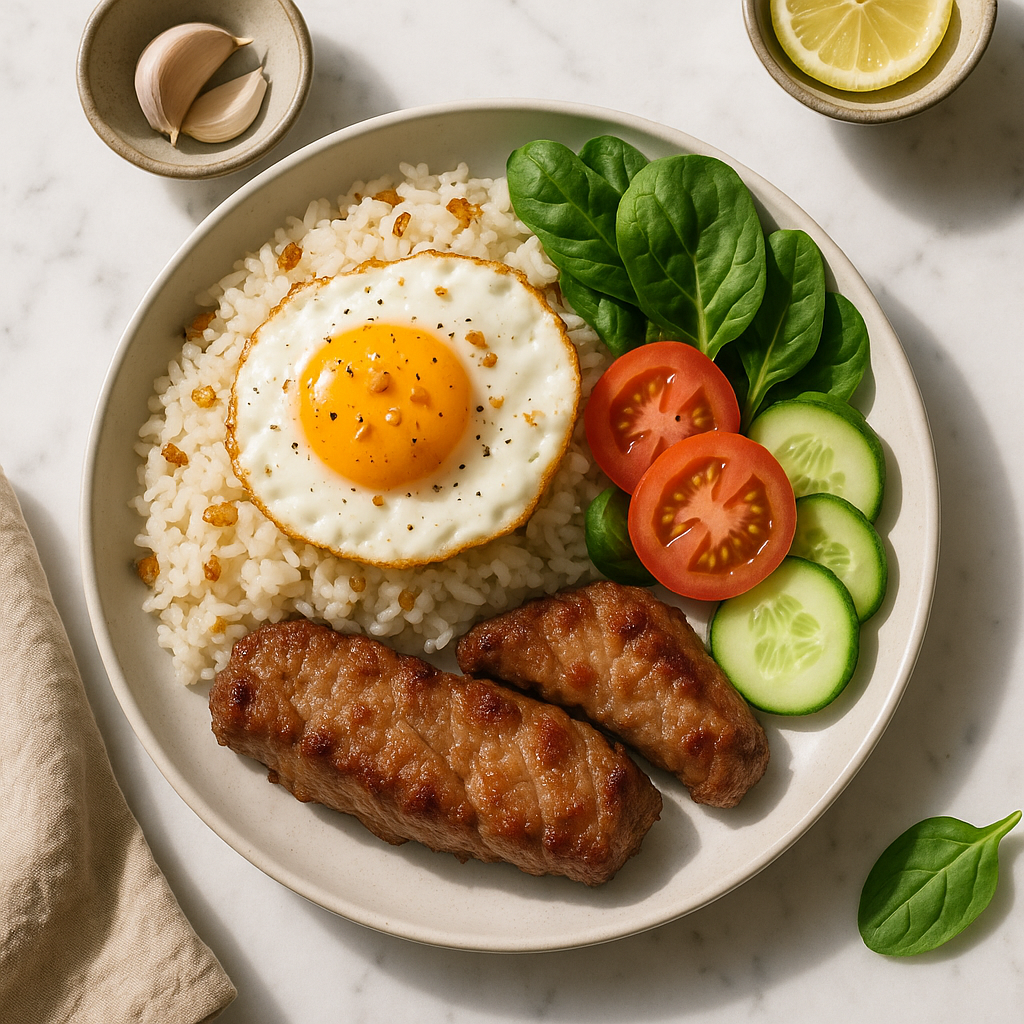
Sinangag Garlic Fried Rice with Egg Silog (Healthy High-Protein Filipino Breakfast)