Soft Fluffy Homemade Pandesal: A Healthier Filipino Bread Roll Recipe
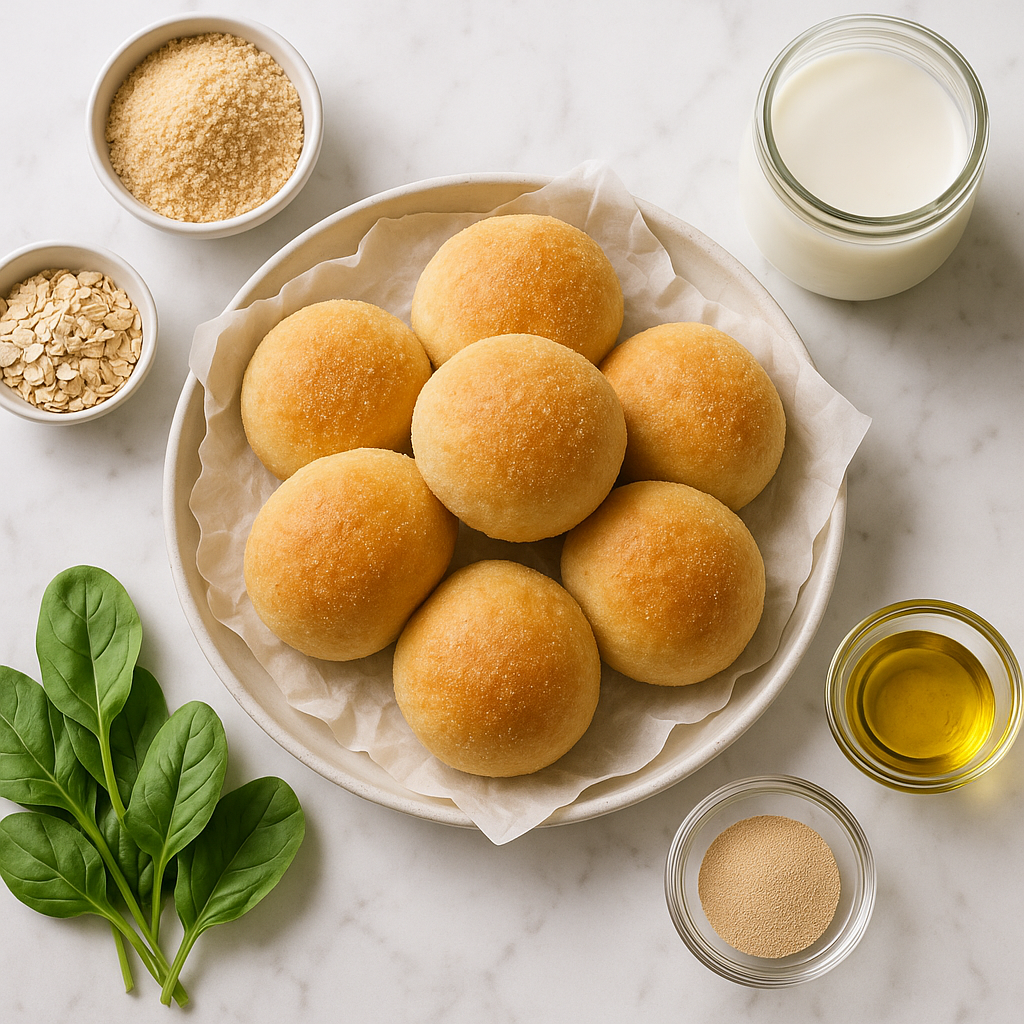
Soft Fluffy Homemade Pandesal is a healthier take on one of the most beloved breakfast breads in Filipino cooking. The original street bakery version, sold by the bagful every morning across the Philippines, is made with white flour and a fair amount of sugar. This recipe keeps the iconic soft, pillowy texture and the distinctive breadcrumb coating, but swaps in whole wheat flour for half the flour content and dials back the sugar significantly. The result is a roll that still feels indulgent without being one. Each roll clocks in at 148 calories, carries 5 grams of protein, and delivers 3 grams of fibre, which makes a real difference compared to a standard white-flour pandesal. If you have been hunting for a bread recipe that suits a morning routine where you actually want to feel full and steady until lunch, this one earns its place. It is also meal prep friendly, which is a big draw for anyone baking on a Sunday to carry them through a busy week.
The ingredient list here is doing a lot of quiet work. The combination of whole wheat flour and plain all-purpose flour is a deliberate balance. Pure whole wheat bread can turn dense and heavy, so the all-purpose flour keeps the crumb light and the rolls genuinely fluffy. Whole wheat flour contributes complex carbohydrates, additional B vitamins, and that 3 grams of fibre per roll, which slows digestion and keeps blood sugar more stable than refined flour alone would. Active dry yeast is what gives pandesal its lift and that faintly yeasty, bakery-warm aroma. Honey appears twice in the recipe: a small amount activates the yeast at the start, and a larger portion feeds the dough. It adds a mild natural sweetness at just 4 grams of sugar per roll. Low-fat milk brings calcium and a touch of fat that softens the crumb. Extra virgin olive oil replaces the shortening or butter used in traditional versions, contributing heart-friendly monounsaturated fats. The egg adds structure and a small protein boost. Breadcrumbs form the classic coating, giving each roll its recognisable slightly crunchy exterior.
When these rolls come out of the oven, the kitchen smells the way a good Filipino panaderia smells at six in the morning: warm bread, a hint of sweetness, and that toasty note from the breadcrumb crust crisping against the heat. The crust has a fine, sandy texture from the coating, and then you tear it open to find a genuinely soft, springy interior with a tight, even crumb. The taste is mild and slightly sweet, not overwhelmingly so, with a wholesome nuttiness from the whole wheat flour that regular pandesal does not have. The process involves two rises: one after mixing and kneading, and one after shaping. Both rises are important. The first develops the gluten structure and flavour. The second, once the rolls are shaped and rolled in breadcrumbs, gives them their final puff before the oven. Baking at a high enough heat sets the crust quickly while the inside stays moist and tender. Do not rush either rise or the rolls will be smaller and denser than they should be.
This recipe fits well within a few specific health goals. The combination of complex carbohydrates, protein, and healthy fat makes it a reasonable option for sustained morning energy rather than a quick spike and crash. The reduced sugar content makes it appropriate for people managing blood sugar levels or following a lower-sugar approach to eating. It is not suitable for gluten-free diets, but it works for vegetarians and for anyone following a low-saturated-fat approach, since olive oil replaces the traditional butter or lard. People who are focused on digestive health will appreciate the fibre contribution from the whole wheat component. Families with children often find this recipe useful because the rolls are small, manageable, and mild enough that even picky eaters accept them readily. Athletes and active people who need a higher-carbohydrate morning option to fuel training will find the 27 grams of carbohydrates per roll appropriate. It is also worth noting that for anyone navigating high cholesterol, swapping traditional shortening for olive oil in a bread eaten regularly every morning is a meaningful change over time.
For meal prep, this recipe is one of the better bread choices because pandesal actually holds up well over several days. Once fully cooled, store the rolls in an airtight container or zip-lock bag at room temperature for up to three days. They stay soft if sealed properly. For longer storage, freeze them in a single layer on a tray first, then transfer to a freezer bag once solid. They keep well in the freezer for up to two months. To reheat from frozen, wrap a roll in a damp paper towel and microwave for about 30 to 40 seconds, or warm a batch in a low oven at 160 degrees Celsius for around 8 minutes. A few variations worth trying: add a tablespoon of ground flaxseed to the dough for extra omega-3s and fibre without affecting the texture noticeably. You can also swap the plain breadcrumbs for panko for a coarser, crunchier coating. For a savoury version, omit the honey from the dough and add a teaspoon of garlic powder and some dried herbs. The full recipe with exact timings and shaping instructions is in the recipe card below.
Ingredients
- 2.3 tsp active dry yeast (one standard 7g sachet)
- 1 tsp honey (to activate the yeast)
- 240 ml warm water (around 40 degrees Celsius, not hot)
- 180 ml warm low-fat milk (dairy or unsweetened oat milk both work)
- 2 tbsp honey (main sweetener, replaces refined sugar)
- 2 tbsp extra virgin olive oil (replaces butter, keeps rolls moist)
- 1 tsp fine sea salt
- 1 large egg (room temperature)
- 250 g whole wheat flour (adds fibre and a nutty flavour)
- 250 g plain all-purpose flour (plus extra for kneading)
- 60 g plain breadcrumbs (for coating, use whole wheat breadcrumbs if available)
Instructions
- 1
In a small bowl, combine the warm water, 1 teaspoon of honey, and the active dry yeast. Stir gently and let it sit for 8 to 10 minutes until the mixture becomes foamy and fragrant. If nothing happens after 10 minutes, your yeast may be old. Start again with a fresh packet.
Water that is too hot will kill the yeast. Aim for a temperature that feels warm but comfortable on your wrist, similar to a bath for a baby.
- 2
In a large mixing bowl, whisk together the warm milk, 2 tablespoons of honey, olive oil, salt, and egg until well combined. Pour in the activated yeast mixture and stir to incorporate.
- 3
Add the whole wheat flour and mix with a wooden spoon or spatula until a shaggy dough forms. Add the all-purpose flour gradually, about 50g at a time, mixing as you go. Once the dough comes together and pulls away from the sides of the bowl, turn it out onto a lightly floured surface.
You may not need every gram of all-purpose flour. Stop adding when the dough is soft and slightly tacky but does not stick aggressively to your hands.
- 4
Knead the dough for 10 to 12 minutes by hand until it is smooth, elastic, and passes the windowpane test. To test, stretch a small piece of dough between your fingers. If it stretches thin enough to let light through without tearing, the gluten is properly developed.
If using a stand mixer with a dough hook, knead on medium speed for 7 to 8 minutes.
- 5
Form the dough into a ball and place it in a lightly oiled bowl. Cover with a clean damp towel or cling film and leave it in a warm, draught-free spot to rise for 60 to 75 minutes, or until it has doubled in size.
A great trick is to place the bowl in your oven with just the oven light on. The gentle warmth creates an ideal proofing environment.
- 6
Once risen, punch the dough down gently to release the air. Transfer it to a lightly floured surface and divide it into 14 equal portions. Roll each portion into a smooth oval or log shape, about 8 cm long.
Using a kitchen scale to weigh each piece ensures even sizing, which means all rolls bake at the same rate.
- 7
Spread the breadcrumbs in a shallow dish or tray. Roll each shaped dough piece in the breadcrumbs, pressing gently so they adhere all over the surface. Place the coated rolls on a baking tray lined with parchment paper, leaving about 2 cm of space between each one.
- 8
Cover the tray loosely with cling film and allow the rolls to have a second rise for about 30 minutes, until they look puffed and feel soft when gently pressed.
Do not skip this second rise. It is what creates that signature soft, airy interior.
- 9
While the rolls are on their second rise, preheat your oven to 180 degrees Celsius, or 160 degrees Celsius for a fan-assisted oven.
- 10
Bake the pandesal for 16 to 18 minutes until the tops are golden brown and the rolls sound hollow when tapped on the base. Remove from the oven and allow to cool for at least 5 minutes on the tray before serving. They are best enjoyed warm.
Every oven is different. Start checking at the 15-minute mark. The rolls should be golden, not pale, but not deeply brown.
Nutrition per serving
148kcal
Calories
5g
Protein
27g
Carbs
3g
Fat
3g
Fibre
4g
Sugar
175mg
Sodium
Pro Tips
- ✓
Always proof your yeast before starting. It takes 10 minutes and saves you from a failed batch.
- ✓
Use a kitchen scale rather than cups for flour. Weight measurements give far more consistent results in bread baking.
- ✓
Do not rush the rises. Longer, slower rising develops better flavour and a softer texture.
- ✓
If your kitchen is cold, extend both rise times by 15 to 20 minutes each.
- ✓
Whole wheat flour absorbs more liquid than white flour. If your dough feels very stiff after kneading, add warm water one tablespoon at a time.
- ✓
Fresh pandesal is at its absolute best within 30 minutes of leaving the oven. Plan your bake time accordingly if you want them for breakfast.
- ✓
For extra softness, you can brush the tops lightly with a little olive oil or melted coconut oil as soon as they come out of the oven.
Frequently Asked Questions
Variations
- •
Ube Pandesal
Mix 3 tablespoons of ube halaya (purple yam jam) and a few drops of ube extract into the wet ingredients before adding the flour. The rolls will be a beautiful purple colour with a subtly sweet, earthy flavour. Reduce honey by half since the ube halaya adds sweetness.
- •
Cheese-Stuffed Pandesal
Before shaping, flatten each dough portion into a small disc, place a small cube of low-fat cheddar or Edam cheese in the centre, and fold the dough around it, sealing tightly. Roll in breadcrumbs and bake as normal. The cheese melts inside and creates a deliciously gooey centre.
- •
Malunggay (Moringa) Pandesal
Add 2 tablespoons of dried moringa leaf powder to the flour mixture. Moringa is packed with iron, calcium, and vitamin C, and it gives the rolls a lovely green tint and a mild earthy flavour. This version is particularly popular in the Philippines for its health benefits.
- •
Garlic Pandesal
Add 1.5 teaspoons of garlic powder to the dry ingredients and 2 cloves of finely minced garlic to the wet mixture. These rolls are savoury and aromatic, brilliant with a fried egg or sliced tomato filling.
Substitutions
- •Low-fat milk → Unsweetened oat milk or almond milk (Both work well and keep the recipe dairy-free. Oat milk adds a slight sweetness that complements the dough nicely.)
- •Extra virgin olive oil → Melted coconut oil or avocado oil (Coconut oil adds a very subtle tropical note. Use refined coconut oil if you want a neutral flavour.)
- •Honey → Maple syrup or coconut sugar dissolved in a teaspoon of warm water (Coconut sugar has a lower glycaemic index than regular sugar and adds a mild caramel depth to the rolls.)
- •Whole wheat flour → Spelt flour (Spelt flour is lighter than whole wheat and produces a slightly softer roll while still offering good fibre and protein content.)
- •Plain breadcrumbs → Whole wheat panko breadcrumbs (Whole wheat panko gives a slightly crunchier, more textured coating and a small boost in fibre.)
- •Egg → Flax egg (1 tbsp ground flaxseed plus 3 tbsp water) (Allow the flax mixture to sit for 5 minutes until it thickens before adding to the wet ingredients. This makes the recipe vegan-friendly.)
🧊 Storage
Store cooled pandesal rolls in an airtight container or zip-lock bag at room temperature for up to 2 days. For longer storage, refrigerate for up to 4 days or freeze for up to 2 months. Always reheat before eating for the best texture.
📅 Make Ahead
After shaping and coating the rolls in breadcrumbs, place them on the lined baking tray, cover tightly with cling film, and refrigerate overnight for up to 12 hours. When ready to bake, remove from the fridge and let them sit at room temperature for 20 to 30 minutes before placing in a preheated oven. Add 2 to 3 minutes to the baking time.
You might also like
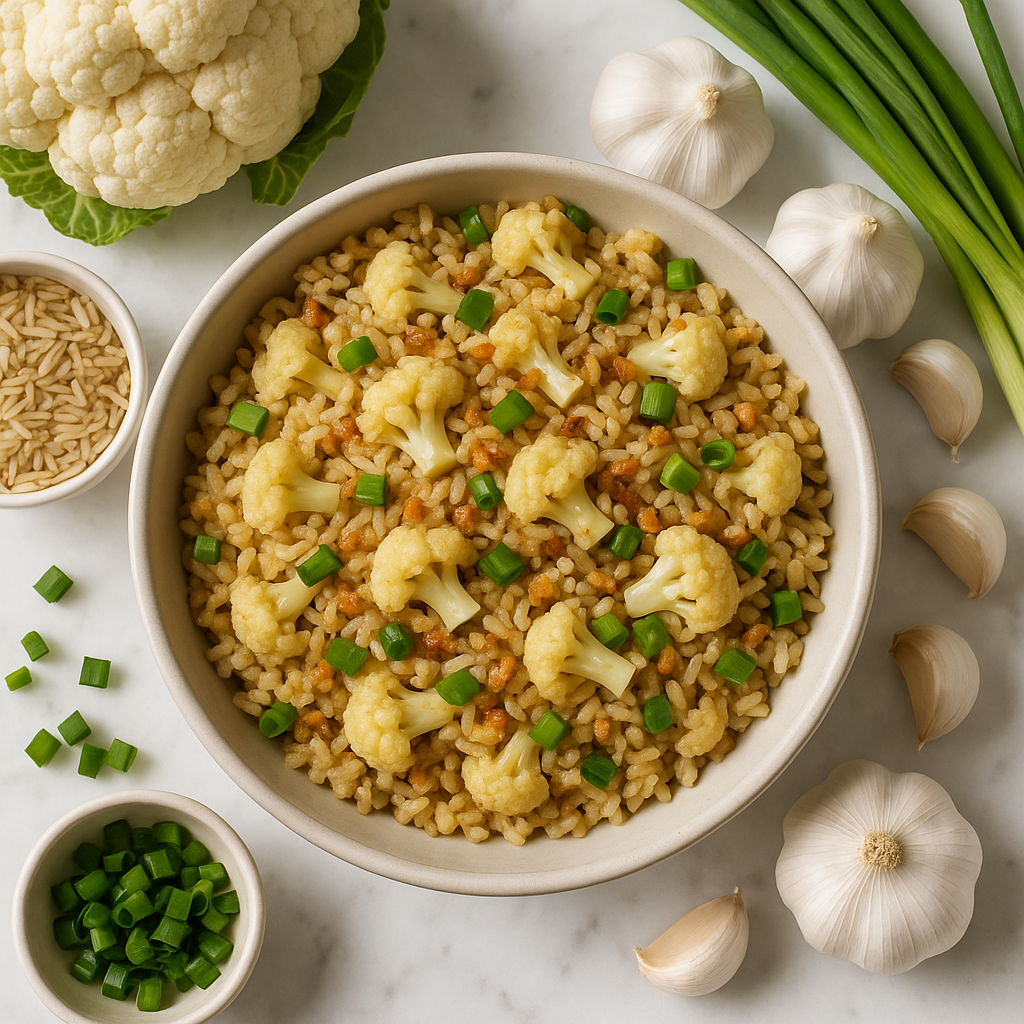
Healthy Sinangag Garlic Fried Rice Recipe Filipino Style with Cauliflower and Brown Rice
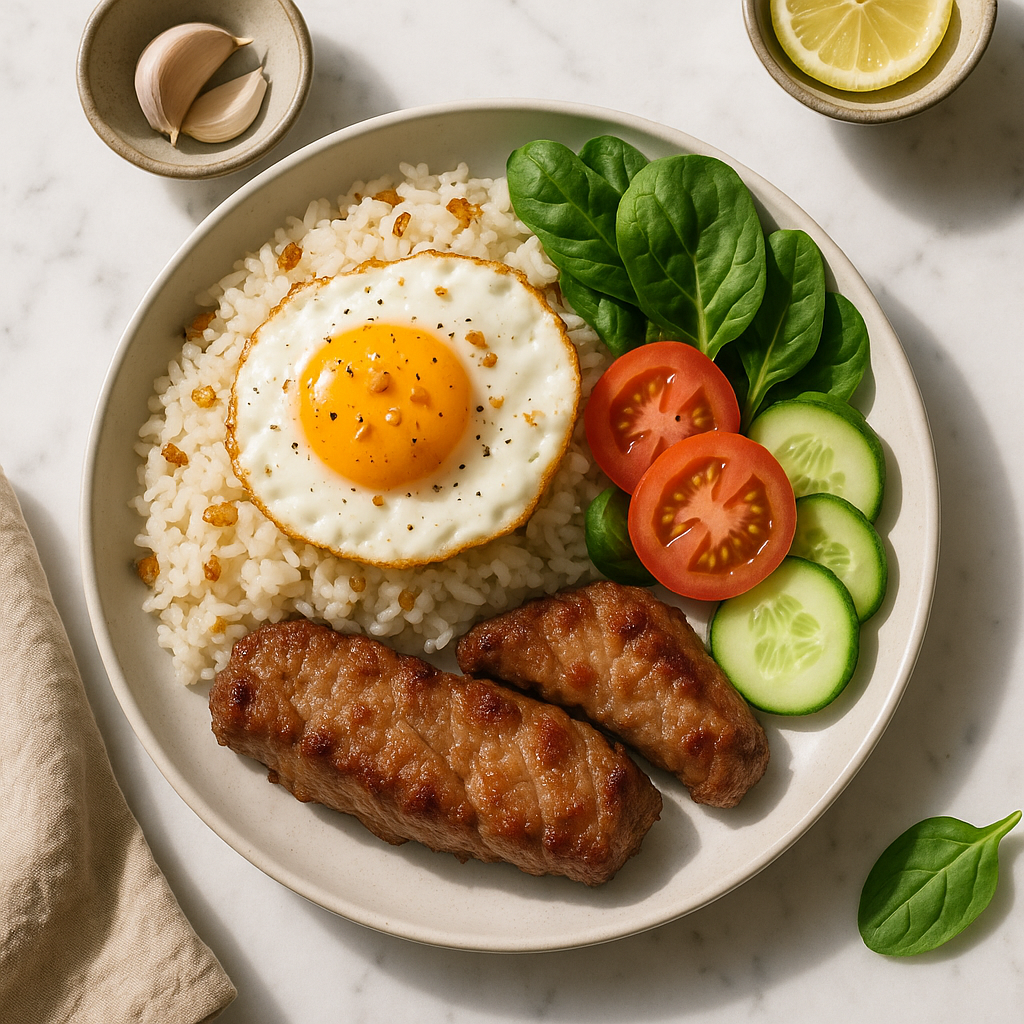
Sinangag Garlic Fried Rice with Egg Silog (Healthy High-Protein Filipino Breakfast)