Portuguese Cornbread Broa with Honey Dairy Free Recipe
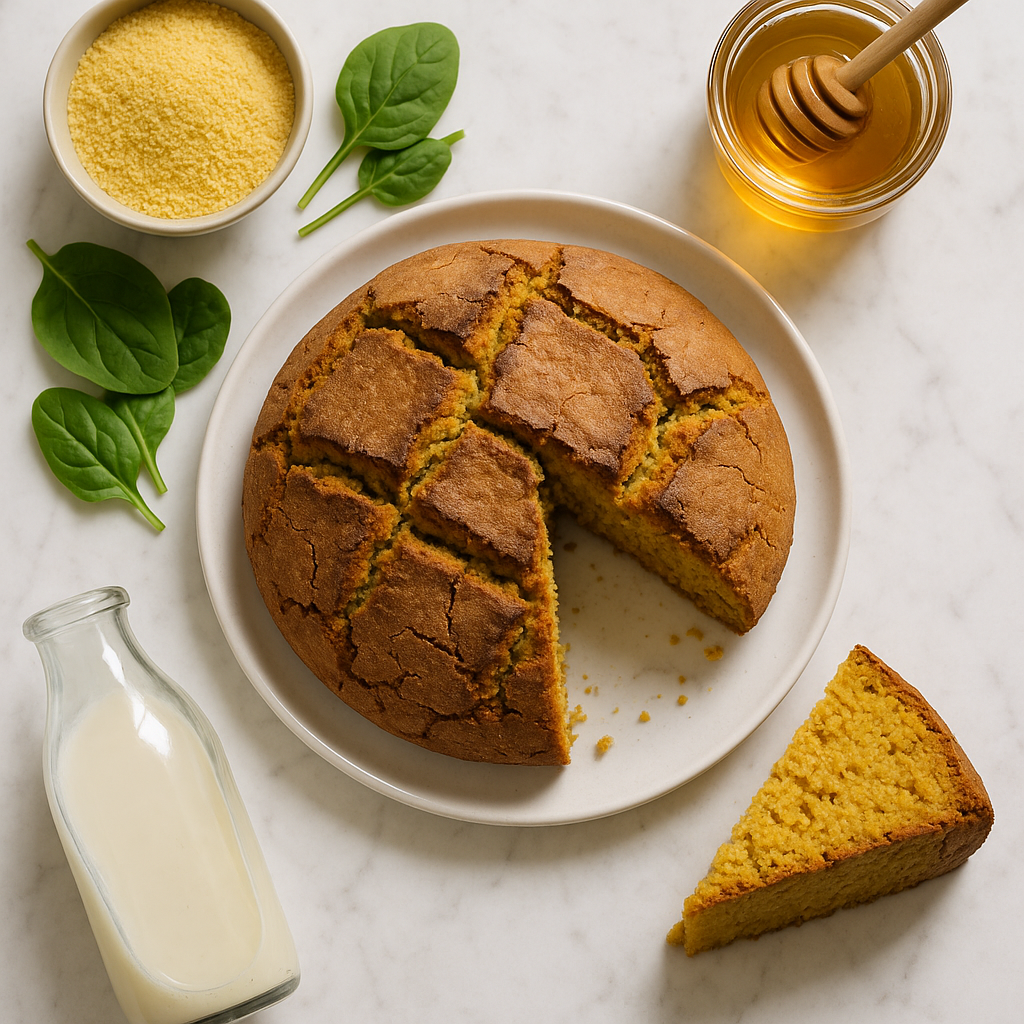
There is something quietly magical about broa de milho. This traditional Portuguese cornbread has been baked in village kitchens for centuries, and once you taste that dense, golden crumb with its slightly crisp crust, you will completely understand why it has never gone out of fashion. Most classic recipes rely on milk or butter to add richness, but this dairy free version proves you genuinely do not need either. A drizzle of raw honey folded into the dough brings a gentle floral sweetness that pairs beautifully with the earthy flavour of stone-ground cornmeal, and the result is a loaf that feels indulgent without undoing your health goals for the day.
The health upgrade in this recipe comes from a few smart ingredient swaps. Replacing some of the plain white flour with chickpea flour quietly boosts the protein content and adds a dose of plant-based fibre that traditional broa simply does not offer. Olive oil steps in for butter, bringing heart-healthy monounsaturated fats and keeping the loaf beautifully moist without any dairy. The honey here is used in a measured, intentional way, just two tablespoons across the whole loaf, so each slice carries a whisper of sweetness rather than a sugar hit. The overall calorie count per slice stays well below what you would get from a conventional enriched bread, making this a genuinely guilt-free addition to your breakfast table.
Broa is not a quick bread in the American sense. It is a yeasted loaf that takes a little patience, but the actual hands-on time is short and the process is wonderfully satisfying. You start by scalding the cornmeal with boiling water, a traditional Portuguese technique that softens the grain, deepens the flavour and gives the finished bread its characteristic slightly dense, almost pudding-like interior. While that cools, your yeast gets going in warm water, and then everything comes together into a sticky, rough dough that you shape by hand and leave to prove until puffed and proud. The smell coming from your oven as it bakes is absolutely worth every minute of waiting.
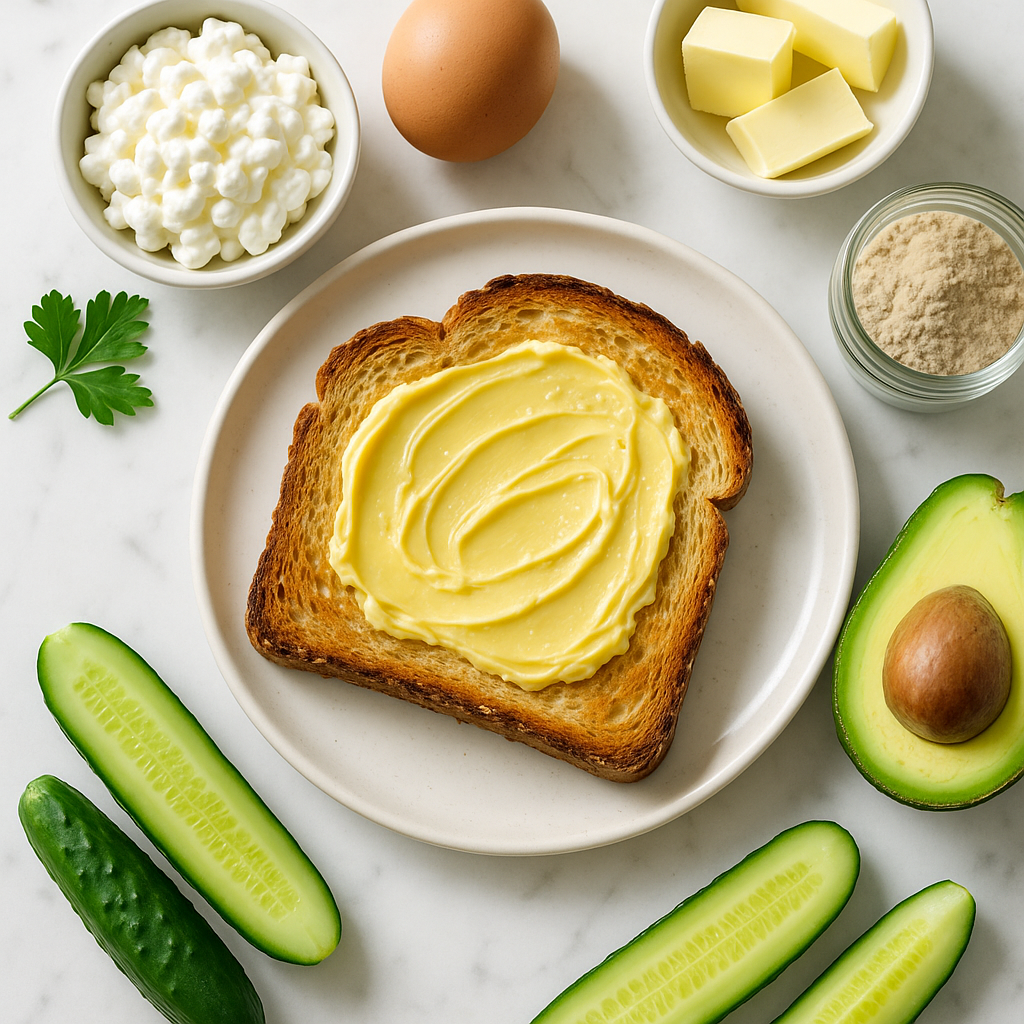
This loaf is brilliant served warm at breakfast, torn into chunks alongside a slick of almond butter or a ripe avocado. It also slices beautifully for a heartier morning meal, topped with a little extra drizzle of raw honey and some fresh banana slices for natural sweetness. Because it is made with olive oil and no dairy, it stays fresh and sliceable for longer than butter-based breads, and it freezes extremely well. Make a loaf on Sunday and you have a genuinely nourishing, high-fibre breakfast option ready for the whole week ahead.
Ingredients
- 1.5 cups stone-ground yellow cornmeal (fine or medium grind both work)
- 1 cup boiling water (for scalding the cornmeal)
- 1 cup wholegrain spelt flour (adds fibre and a nutty depth)
- 0.5 cup chickpea flour (boosts protein content naturally)
- 1 teaspoon fine sea salt
- 7 g instant dried yeast (one standard sachet)
- 0.5 cup warm water (around 38 degrees Celsius, not hot)
- 2 tablespoons raw honey (adds gentle sweetness without refined sugar)
- 3 tablespoons extra virgin olive oil (plus a little extra for the bowl and baking)
- 1 tablespoon ground flaxseed (adds omega-3 and helps bind the dough)
- 1 teaspoon apple cider vinegar (helps activate rise and adds depth)
- 2 tablespoons extra cornmeal (for dusting the work surface and top of loaf)
Instructions
- 1
Place the 1.5 cups of cornmeal into a large heatproof mixing bowl. Pour the boiling water directly over the cornmeal and stir immediately with a wooden spoon until fully combined. The mixture will look thick and porridge-like. Cover the bowl with a clean kitchen towel and leave it to cool for 20 to 25 minutes until it reaches room temperature.
This scalding step is key to traditional broa texture. Do not rush the cooling, as adding yeast to a hot mixture will kill it.
- 2
While the cornmeal cools, pour the warm water into a small bowl or jug. Sprinkle the instant yeast over the water, add the raw honey and stir gently. Leave to sit for 8 to 10 minutes until the surface looks foamy and active. This tells you the yeast is alive and ready to work.
If your yeast does not foam at all after 10 minutes, your water may have been too hot or the yeast may be old. Start again with fresh yeast.
- 3
To the cooled cornmeal mixture, add the wholegrain spelt flour, chickpea flour, sea salt and ground flaxseed. Stir to combine roughly. Add the olive oil, apple cider vinegar and the foamy yeast mixture. Mix everything together with a wooden spoon or your hands until a sticky, cohesive dough forms. The dough will be rougher and stickier than a typical wheat bread dough, and that is completely normal for broa.
Do not be tempted to add extra flour to reduce stickiness. The higher moisture content is what gives broa its characteristic dense, moist crumb.
- 4
Lightly oil a clean bowl with a small splash of olive oil. Shape the dough into a rough ball, place it in the bowl and turn it once to coat. Cover with a damp kitchen towel or cling film and leave in a warm spot to prove for 50 to 60 minutes until visibly puffed and roughly doubled in size.
A warm oven with just the light switched on makes an ideal proving environment if your kitchen is cool.
- 5
Preheat your oven to 200 degrees Celsius, which is 390 degrees Fahrenheit or gas mark 6. Line a large baking sheet with parchment paper and dust it generously with cornmeal. Turn the proved dough out onto a cornmeal-dusted surface and gently shape it into a round loaf roughly 20 centimetres across. Do not knead it hard at this stage. Lift it carefully onto the prepared baking sheet.
Wet hands make shaping sticky broa dough much easier than floured hands.
- 6
Dust the top of the loaf lightly with extra cornmeal. Using a sharp knife or bread lame, score a shallow cross or three parallel lines across the top. This helps the bread expand evenly as it bakes and gives it that beautiful rustic look. Leave it to rest uncovered for 10 minutes while the oven finishes heating.
- 7
Bake the loaf in the centre of the preheated oven for 40 to 45 minutes until the crust is deep golden and the loaf sounds hollow when you tap the bottom. If the top is browning too quickly after 30 minutes, lay a piece of foil loosely over it for the remainder of the bake time.
An internal temperature of around 93 to 95 degrees Celsius confirms the bread is fully baked through.
- 8
Transfer the baked broa to a wire rack and leave it to cool for at least 20 minutes before slicing. Cutting into it while still very hot will cause the crumb to become gummy. Serve with an extra drizzle of honey on each slice if you like, or enjoy it simply torn and warm.
The flavour of broa genuinely improves after the first few hours once the crumb has fully set, so try to wait if you can.
Nutrition per serving
178kcal
Calories
6g
Protein
28g
Carbs
5g
Fat
4g
Fibre
4g
Sugar
195mg
Sodium
Pro Tips
- ✓
Stone-ground cornmeal gives a far more complex flavour and better texture than finely milled cornmeal. Look for it at health food stores or online.
- ✓
Raw honey works better here than processed clear honey because it has more natural enzymes and a richer flavour, and a little goes a long way.
- ✓
Chickpea flour has a slightly earthy taste that becomes very mild once baked. If you are new to baking with it, this recipe is a great introduction.
- ✓
Broa is traditionally baked in a wood-fired oven. To mimic that heat at home, preheat a pizza stone in the oven and slide the parchment-lined loaf directly onto it.
- ✓
Do not skip the cornmeal dusting on the baking sheet. It prevents sticking and adds a lovely textured crust to the bottom of the loaf.
- ✓
If you want a slightly softer crust, brush the top of the warm loaf with a tiny amount of olive oil as soon as it comes out of the oven.
- ✓
The loaf freezes well. Slice it before freezing so you can pull out individual pieces as needed each morning.
Frequently Asked Questions
Variations
- •
Rosemary and Olive Broa
Add 1 tablespoon of finely chopped fresh rosemary and 3 tablespoons of roughly chopped pitted black olives to the dough at step 3. Omit the honey and let the savoury ingredients do the work. This version is wonderful alongside soup or salad.
- •
Seeded Honey Broa
Mix 2 tablespoons of sunflower seeds and 1 tablespoon of sesame seeds into the dough for extra crunch and healthy fats. Scatter a few more seeds over the top before baking. This adds texture, visual appeal and an additional fibre boost.
- •
Gluten Free Broa
Replace the wholegrain spelt flour with a blend of 0.75 cup brown rice flour and 0.25 cup tapioca flour. Add 0.5 teaspoon of xanthan gum to help bind the dough. The texture will be slightly more crumbly but still delicious and naturally gluten free alongside the chickpea flour base.
Substitutions
- •Wholegrain spelt flour → Whole wheat flour (Use in a 1 to 1 ratio. The flavour will be slightly more neutral but the fibre content stays similar.)
- •Chickpea flour → Oat flour (Oat flour is milder in flavour. It will reduce the protein content slightly but keep the fibre benefit. Use the same quantity.)
- •Raw honey → Pure maple syrup (A perfect vegan swap in exactly the same quantity. It makes the loaf fully plant-based without changing the texture at all.)
- •Extra virgin olive oil → Melted coconut oil (Coconut oil works well and adds a very subtle sweetness that complements the honey. Use refined coconut oil if you do not want any coconut flavour.)
- •Ground flaxseed → Ground chia seeds (Use the same quantity. Chia seeds bind equally well and add similar omega-3 fatty acid benefits.)
- •Apple cider vinegar → Fresh lemon juice (Use the same quantity. Fresh lemon juice performs the same role of helping activate the rise and adding a subtle depth of flavour.)
🧊 Storage
Store the cooled broa wrapped in a clean kitchen towel or in a paper bag at room temperature for up to 3 days. For longer storage, slice the loaf and freeze in an airtight freezer bag for up to 2 months. Toast slices directly from frozen for 3 to 4 minutes.
📅 Make Ahead
You can prepare the dough through step 3, cover it tightly and refrigerate overnight. In the morning, take it out and allow it to come to room temperature and finish proving for about 90 minutes before shaping and baking. The slow cold prove actually deepens the flavour beautifully.